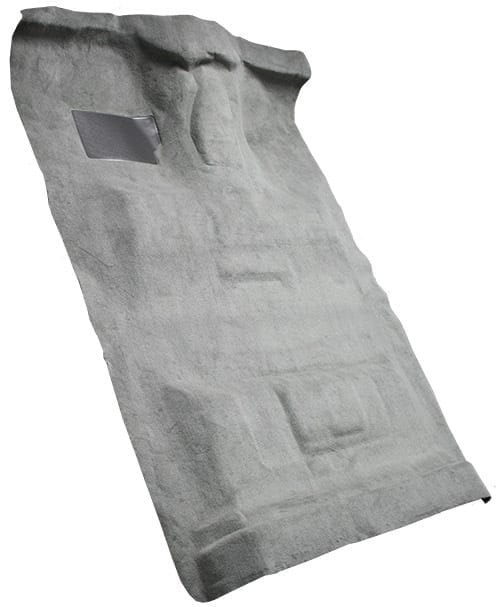
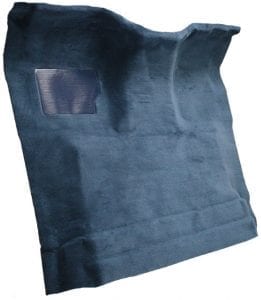
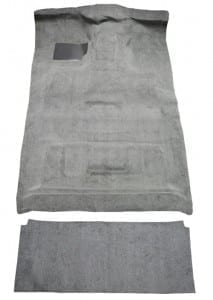
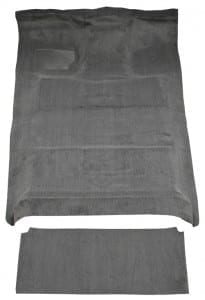
1987-1996 Ford F-250 Crew Cab Pickup 2WD Diesel High Tunnel Flooring

PART#: 23041 STARTING AT $292.65 $253.14
Free Shipping

This item is proudly made in the USA by Auto Custom Carpets. Please see notes below regarding returns.

You can earn points for purchasing this product.
Brand: ACC
  • Total Price

  • This field is for validation purposes and should be left unchanged.
SKU: 23041 Categories: ,
Approximate Part Dimensions (in): Shipping Estimate: from manufacturer in 3-5 days Return Policy
Weight (lbs): 23 lbs Shipping Policy
Freight Policy:

Description

Whether you’re restoring your 1987-1996 Ford F-Series Pickup Truck or just replacing some old, worn our flooring, we have a replacement flooring for you. Order our 1987-1996 Ford F-250 Crew Cab 2WD Diesel High Tunnel Flooring to get your F-Series Pickup Truck’s interior looking like new again.

This carpet is available with mass backing. Mass backing provides a heavier backing across the entire mat, providing a little extra cushion and sound deadening. If you would like mass backing please select it from the dropdown above.

  • Great sound and heat barrier.
  • Increases the overall look of the carpet after installation.
  • Add-on option for most any Molded Carpet.
  • Approximately 45 mil thick EVA material.

This flooring is also available as a vinyl mat as well. Vinyl mats are made of 1/8″ thick industrial, non-skid, textured vinyl that is vacuum molded to fit the contours of your vehicle’s floor. All vinyl mats come with separate jute backing material that will cover the footwell areas. Just select vinyl from the material style dropdown above for this option.

PLEASE NOTE: Due to variations in computer monitor settings, we recommend that you request a fabric swatch of the material type and color that you like so that you can see and feel it. To request free samples, please click on the request sample link. Because this is a custom item made to your specifications, no returns are allowed for dissatisfaction with fabrics or colors.

Most carpets are heat molded to precisely fit the contours of your vehicle’s floor. Please see the Style tab to determine the construction method used for a particular item. Carpets come with a heat-sealed heel pad by the pedal area and 40 oz. (1/2″) jute padding in the footwell areas. For even more cushion, jute padding is also available by the yard.

Carpet by-the-yard is also available. Please call us for information.

Please note: Most mats do not come with cutouts for items such as seat mounts, floor shifters, and pedals. These types of cutouts will need to be part of the installation process. Each mat does come with installation instructions.

All flooring items are custom made. Most flooring is delivered within 5-10 days of an order being placed.

Please install flooring using the following guidelines:
– Remove from box as soon as possible. Leaving rolled up in box can cause flooring to lose its shape.
– Remove seats and old carpeting and lay flooring in vehicle.
– Work flooring into all contours of floor.
– Leave flooring in vehicle for at least a day prior to installation. This will help it regain its shape from being rolled up. The amount of time it takes to regain its shape will depend on the air temperature where the vehicle is located. The warmer the temperature, the faster the flooring will regain its shape. Note, it could take several days to regain its shape.
– Working from the center outward, cut holes for seat belts, seat tracks, shifter, console, etc.
– Install seats, console, etc.
– Trim edges and install door sills and trim.

DO NOT:
– Lay on flat surface for extended period of time.
– Leave rolled up in box.
– Lay in direct sunlight for extended period of time (unless it’s in the vehicle).

Doing any of the above “DO NOT” points can cause the flooring to lose its shape.

Customer reviews

Reviews

There are no reviews yet.

Be the first to review “1987-1996 Ford F-250 Crew Cab Pickup 2WD Diesel High Tunnel Flooring”

Use one of the allowed file type: jpg,png. The max size allowed is : 5 MB.

    Here are a few helpful videos explaining the installation process for carpeting and vinyl flooring.


    FAQ

    Q. When can I expect delivery of my flooring?
    A. All products are manufactured to your specifications within 1-2 business days and are shipped directly from the manufacturer. Depending on your location, you can expect delivery in 5-10 days.

    Q. Can I install my flooring myself?
    A. The installation of replacement carpet or vinyl requires a degree of skill. Materials can be stiff and require patience when positioning. Trimming is required on all edges and all cuts must be made for shifters, brackets, etc. during the installation process. The majority of our customers that purchase flooring self-install. However, others find it to their advantage to seek the services or advice of a professional. It is often helpful to use your existing flooring as a measuring guide. We also provide installation information and videos to assist you in making this decision.

    Q. Does my flooring come with padding?
    A. Included padding varies by application. At a minimum, padding is included in the footwell areas. Some applications include more. Most carpets have the padding attached; padding for vinyl mats is included but not attached. For most carpet purchases, there is an option to include mass backing. You will find more detail on this option on your specific carpet product page.

    Q. Can I purchase additional carpet yardage?
    A. Yes carpet is available for purchase by-the-yard in 76 width. Please place your order by telephone at (800)334-0230 if you require additional yardage.

    Q. Can I be sure that I am purchasing quality flooring?
    A. We only offer the highest quality aftermarket flooring available. The raw materials used to manufacture your flooring are the best available for durability and color retention. The flooring is precisely molded to fit your floors contours. And, your quality flooring is proudly made in the USA.

    Q. Is my flooring returnable?
    A. Because all flooring products are custom made, we allow no returns for any reasons other than manufacturing issues. Therefore, if color/material selection is important to you, we advise that you request physical material samples prior to ordering your flooring. You may order these samples by telephone or through our the specific product page on the website. Also, we are available by telephone to answer any product question that you may have or to assist you in determining the correct product for your application.

    Regarding the installation of your new flooring:

    • Check your box label to make sure contents are correct for your vehicle.
    • Upon delivery, unroll your flooring and lay inside of vehicle if the seats are out, or flat outside of your vehicle at room temperature for 24 hours. Bump out the contours and use the product box to prop up the tunnel area if on the floor. DO NOT PLACE IN DIRECT SUNLIGHT! Do not store the flooring in the box for an extended period of time. Because it is heavy, a vinyl mat will appear flat at this point. It will regain its molded shape with time and gravity after installation.
    • Heavy duty vinyl flooring is very stiff and can be difficult to install, especially when cold. If you do not understand how to install your new vinyl flooring, we recommend that you have a professional install it for you.
    • Remove your old flooring but do not discard until installation is complete. Do not attempt to install your new flooring over the existing flooring.
    • Sweep your vehicle’s floor thoroughly. Now is a good time to address any corrosion or damage issues. If you wish, you can install sound deadener and/or additional padding.
    • The manufacturer has marked the front, center of your mat. Position mat on vehicle floor, using the correct tunnel and the floor contours as your main guides. This may require folding the mat back onto itself at the firewall. Smooth material from the tunnel outward, lining up all contours. We recommend starting installation from the rear-most portion of the cab. Holes for shifters, brackets, etc. should only be cut after you are sure that your mat is positioned correctly. Take care not to trim too much material from the sides, front and back. Work carefully and slowly.

    FOR STEP-BY-STEP INSTALLATION INSTRUCTIONS, PLEASE VIEW THE RELATED VIDEO TAB

    Molded

    Questions and answers

    There are no questions yet. Be the first to ask a question about this product.