
Securing auto body trim might seem like a small detail, but using the right molding clips makes the difference between a clean, professional look and one that falls short. Trim serves both a cosmetic and functional purpose by protecting edges, sealing out debris, and completing the vehicle’s appearance. Choosing the correct clips and installing them properly ensures the trim stays secure and continues to protect the vehicle over time.
At Raybuck Auto Body Parts, we’ve been helping drivers and DIYers with reliable replacement auto body parts since 1985, and molding clips are one of the essentials in that process.
Key Takeaways
- Using the correct type of molding clip ensures trim stays in place and the vehicle’s finish looks clean.
- Preparation—cleaning old clips, checking holes, and inspecting trim—is essential for reliable installation.
- Installation works best when clips are inserted from one end, aligned well, and not forced.
- Regular inspection and replacing worn or missing clips help avoid rattling, rust, or trim detachment.
- Quality clips from Raybuck—durable, correctly sized, and part of our wide selection—make a difference in fit and longevity.
Did you know that replacing just one worn clip can stop an entire trim section from vibrating or coming loose?
Types of Molding Clips and Fasteners
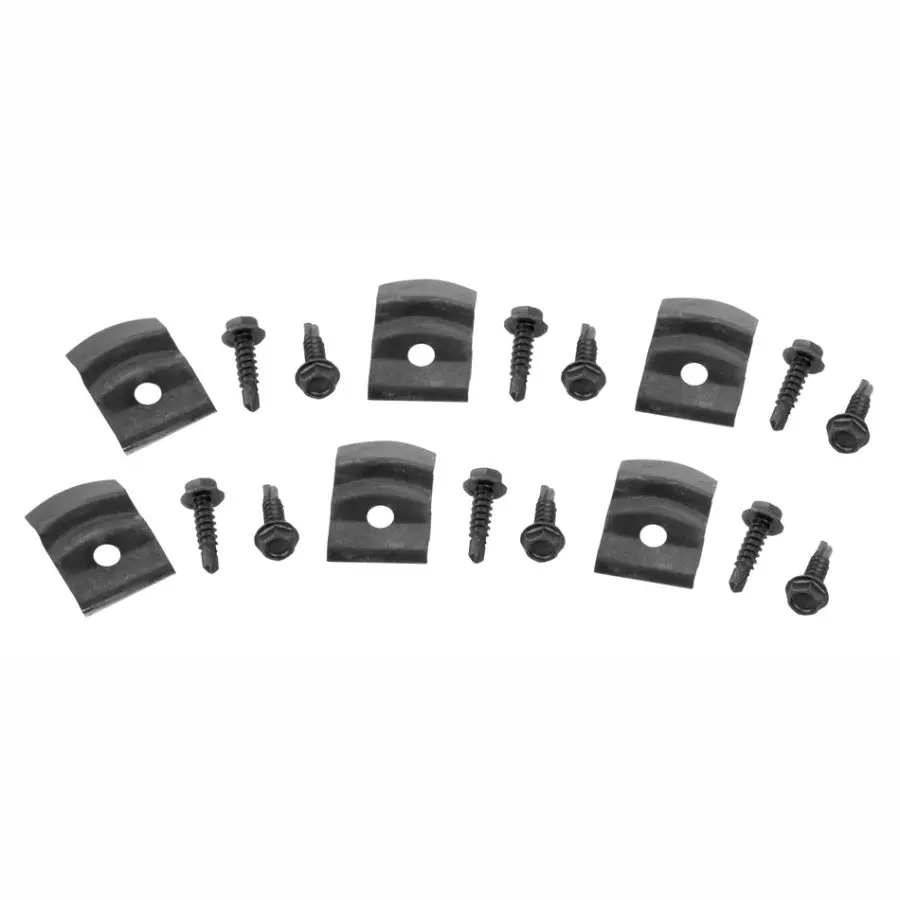
Not all clips are created equal. Each type serves a specific function depending on the panel, trim piece, or vehicle manufacturer. Here are the most common options:
- Plastic push clips / retainers: Used widely for interior panels and exterior trim where a simple snap fit is required.
- Metal spring clips: Provide strong tension and are often used where a more durable hold is needed.
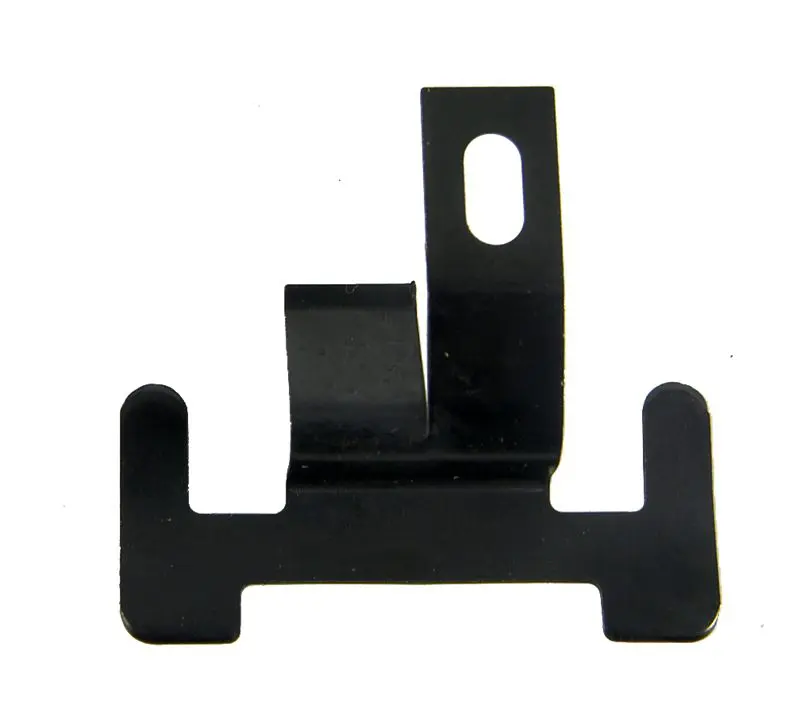
- U-nuts and J-clips: Designed to hold screws in place while gripping the panel edge.
- Screw retainers: Combine with fasteners to secure trim pieces with additional strength.
Materials and Coatings
Clips are typically manufactured from either plastic or steel. Plastic clips are resistant to corrosion and easier to replace, while steel clips offer durability in areas exposed to more stress. Raybuck also lists finish options like Black Phosphate or Zinc in product categories, which is commonly applied to steel for added corrosion resistance.
Comparison Table: Common Clip Types
| Clip Type | Material Options | Typical Use Case | Pros | Cons |
| Plastic Push Clips | Plastic | Door panels, wheel liners, trim | Easy to install, rust-proof | Can become brittle over time |
| Metal Spring Clips | Steel | Exterior trim, molding, panels | Strong grip, long-lasting | Susceptible to rust if uncoated |
| U-Nuts / J-Clips | Steel | Securing screws on edges | Holds screws securely | Requires correct sizing |
| Screw Retainers | Plastic/Steel | Trim with additional fasteners | Stronger hold than snap-fit | Slower to install |
Tools and Materials Needed
Installing trim with molding clips requires the right tools. Having everything ready helps prevent damage and ensures a smoother process.
Tools:
- Trim removal tool or panel popper
- Clip pliers
- Screwdriver set
- Drill and bits (if repair work requires new holes)
- Measuring tape
Materials:
- Replacement molding clips from Raybuck’s Moulding Clips selection
- Trim pieces (if damaged or warped)
- Cleaning supplies such as a soft brush or mild solvent
Safety Gear:
- Work gloves
- Safety glasses
Preparing the Trim and Body Panel
Proper preparation prevents most installation issues. Before inserting new clips, inspect and clean the work area.
- Remove old clips and trim: Use a trim removal tool to pry out worn clips carefully to avoid scratching the paint.
- Clean the surface: Remove dirt, adhesive residue, or rust from the mounting points.
- Inspect the trim: Check that the piece is not cracked or warped. If damaged, replacing it will save frustration during installation.
- Check mounting holes: Make sure they are not enlarged, deformed, or rusted. A damaged hole can cause a clip to slip out prematurely.
Installing Molding Clips Properly
With preparation complete, installation is straightforward.
Step-by-Step Guide
- Align the trim: Hold the trim loosely against the panel to line up all holes before inserting clips.
- Insert clips gradually: Start at one end of the trim and work across. This prevents misalignment and reduces stress on the clips.
- Push or snap in the clips: Apply steady pressure until the clip seats into place. Do not force it.
- Secure with screws if required: For screw-retainers or U-nuts, tighten the fastener snugly without over-torquing.
Tips for Success
- Use a small amount of lubricant like soapy water to help plastic clips slide in more easily.
- Avoid overtightening screws, which can crack trim or warp panels.
- Always use clips designed for your specific vehicle to ensure proper fit.
Troubleshooting Common Issues
Even with careful installation, challenges can arise. Here are some common issues and their solutions:
- Clip pops out: The hole may be too large or the wrong clip type is being used. Replace with the correct size.
- Trim not sitting flush: Check for warped trim or misaligned clips. Realign or replace parts if needed.
- Rust around clip area: Treat rust spots with appropriate rust repair products before installing clips.
- Clips break during removal: Old plastic clips often become brittle. Always keep spares on hand for replacement.
Maintenance and Longevity Tips
Molding clips are small but important. A little maintenance extends their life and keeps your trim in place.
- Inspect trim and clips regularly, especially after harsh weather or car washes.
- Clean dirt and debris from around trim edges.
- Replace worn or missing clips promptly to prevent rattling or trim detachment.
- Protect metal areas with rust-prevention sprays where appropriate.
Why Quality Parts Matter
Since 1985, Raybuck Auto Body Parts has been providing reliable replacement parts for light duty trucks, SUVs, vans, Jeeps, and Volkswagens. Our Moulding Clips include a range of options to fit different vehicles and repair needs. We design our replacement panels and components with durability and satisfaction in mind, offering parts that are strong and dependable for the long haul.
Choosing quality clips ensures your trim stays secure, looks professional, and continues to protect your vehicle as intended.
Conclusion: Auto Body Molding Clips
Installing molding clips correctly is a simple but essential step in keeping your vehicle’s trim secure and looking sharp. By choosing the right clip type, preparing the mounting area, and following a careful installation process, you’ll achieve lasting results. For reliable molding clips and other fasteners, turn to Raybuck Auto Body Parts and shop our wide selection.
Explore our range of auto body parts and repair panels today to ensure your trim fits perfectly and lasts.


Hi. Looking for molding pieces for rear quarter panel on 1987 Toyota Camry wagon,
If you have any pics and/or dimensions of your clips, please send them to [email protected] and we’ll try to match.
I dont see any way to post a photo of the trim piece and the one clip still on it,.
you can send it to [email protected]