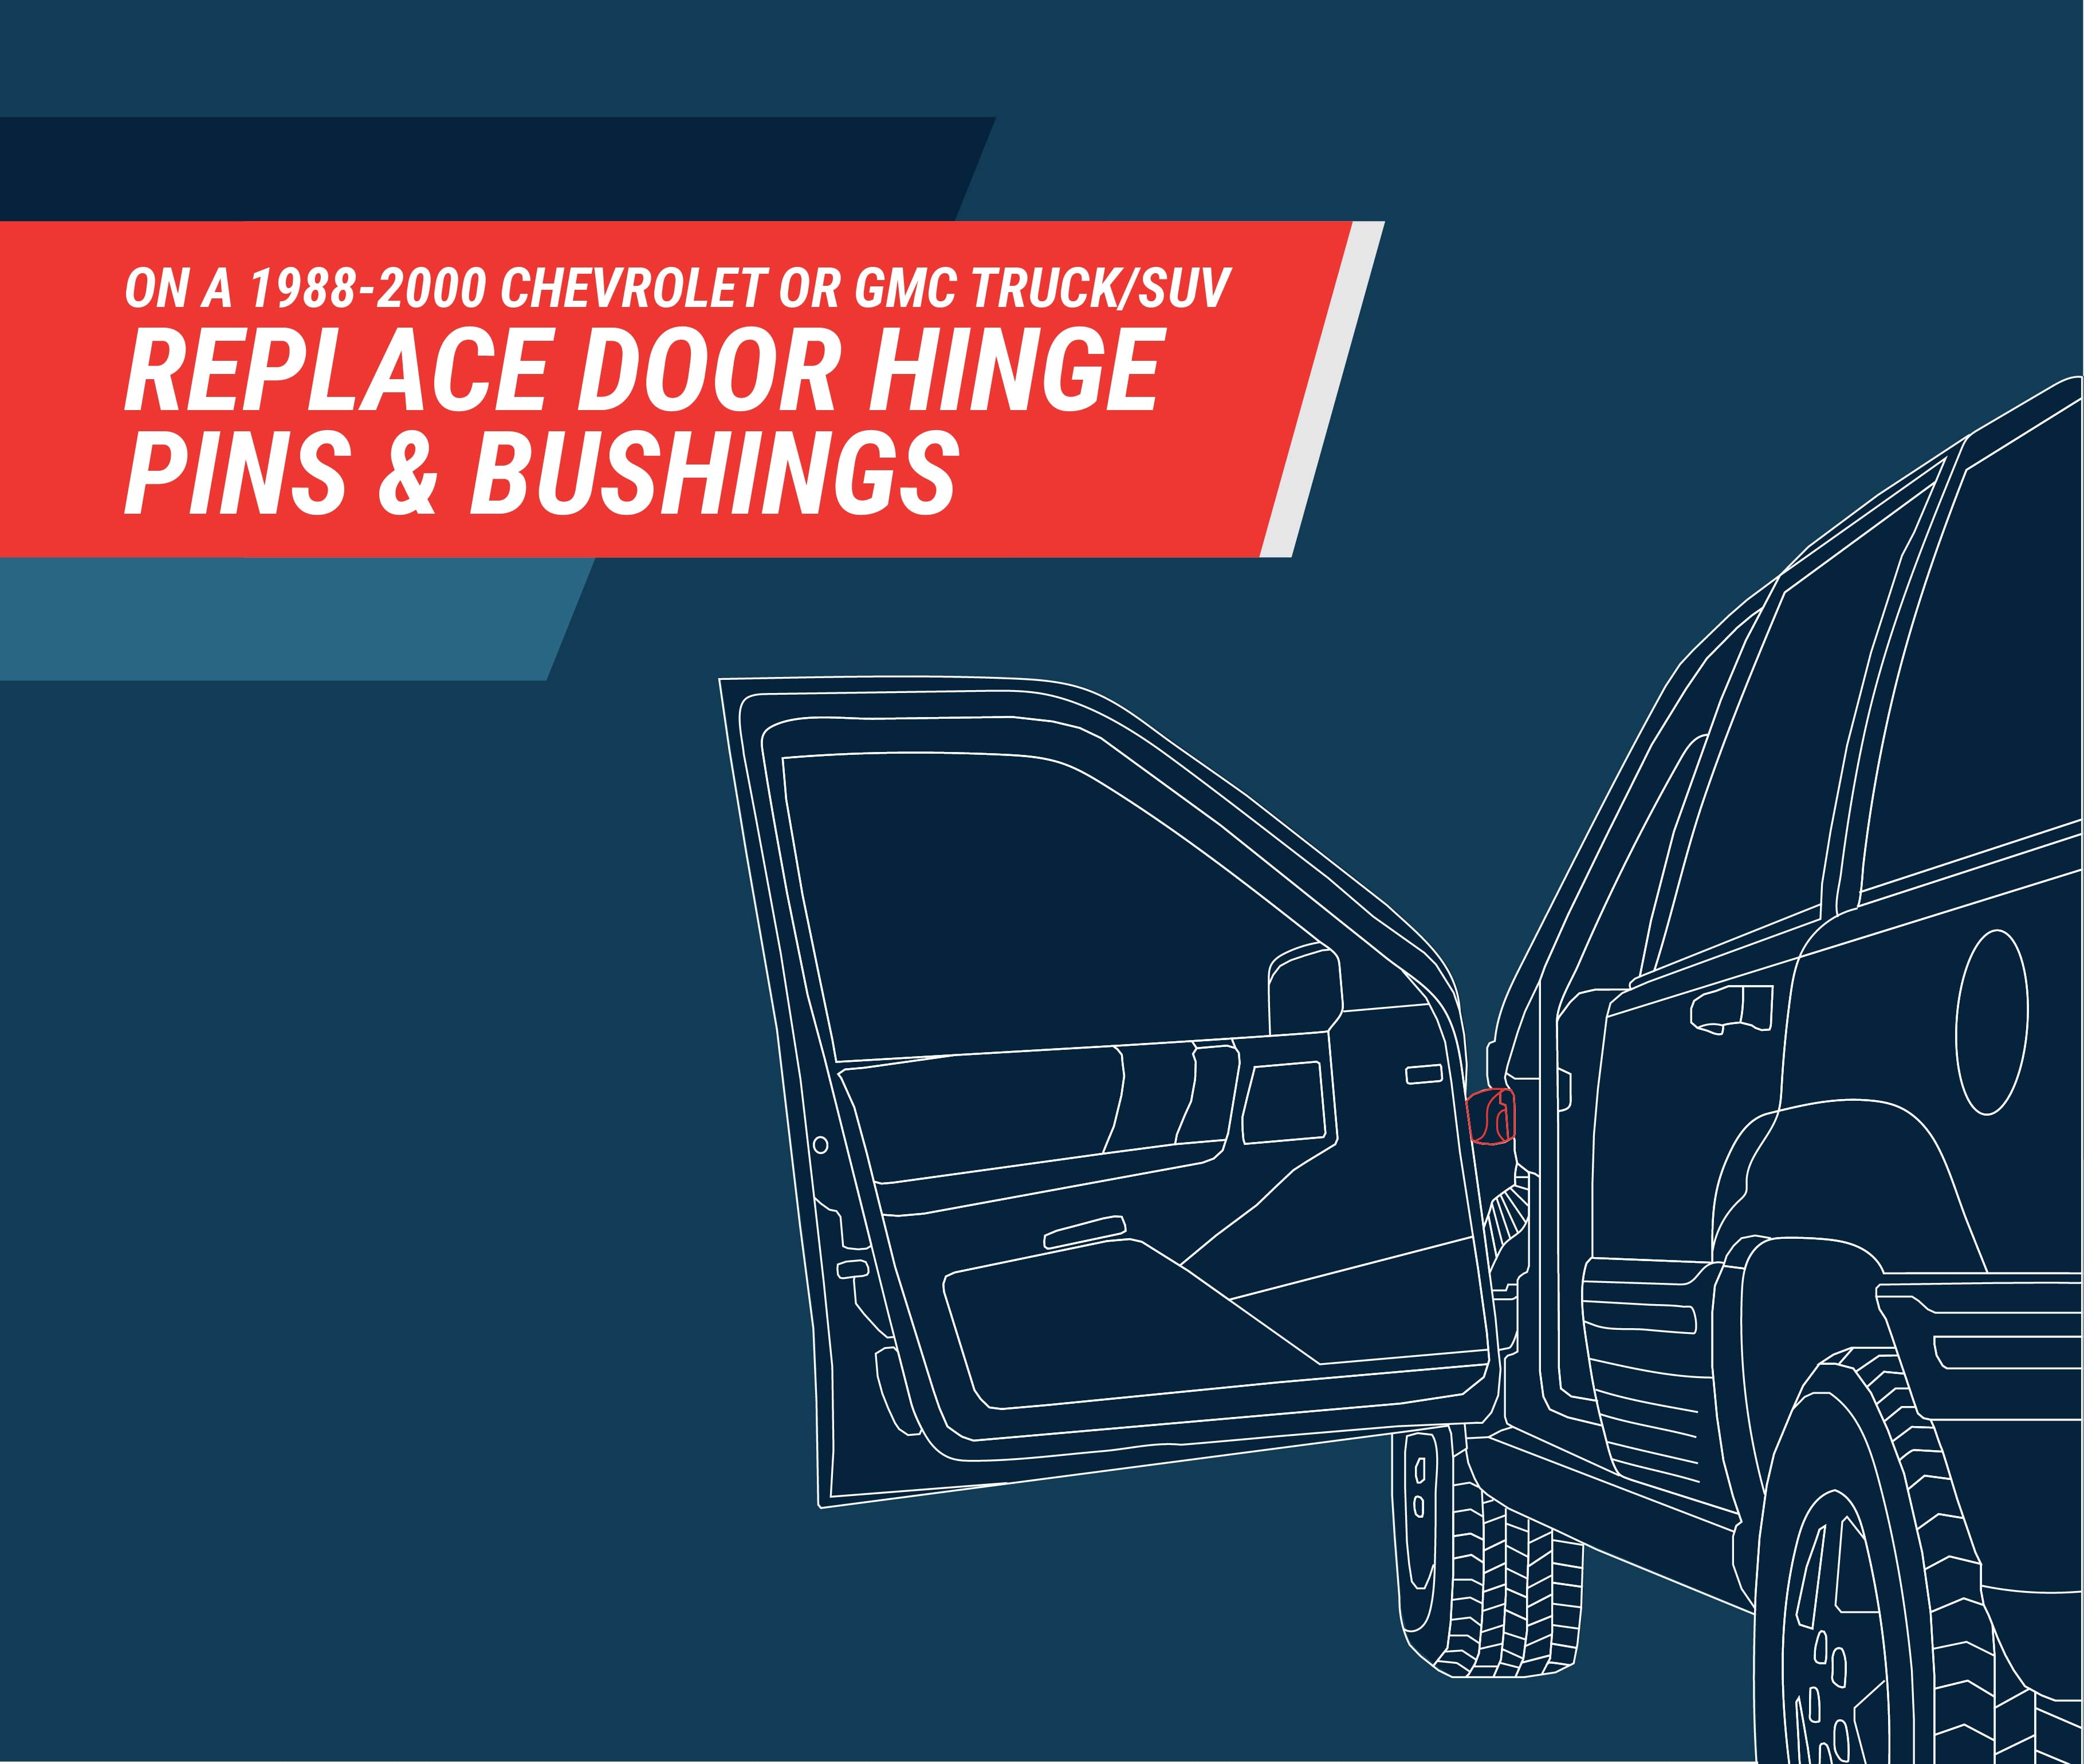
The large doors on GM full-size trucks and SUVs are heavy, and the hinges can eventually wear out. If you can’t close your 1988-2000 Chevrolet Silverado, Suburban or Tahoe or GMC Sierra or Yukon doors without giving them a huge slam and notice that they hang low when open, it’s time to change your door hinges.
The culprit is usually the pins and bushings, which start to allow too much play in your hinges. Fortunately, changing your door hinges isn’t very complicated, though there are a few steps where a strong friend is a big help! A specific GM door spring tool exists that is designed to make GM door hinge spring replacement or reinstallation easier, but even if you don’t have this tool, you can still do the job at home – we’ll show you a trick!
Wondering how to fix the sagging doors on your Chevy truck, GMC pickup or SUV? Just follow the steps below!
Quick Links:
Tools Needed:
To change out your GM truck or SUV door hinge pins and bushings, you will need:
- Flathead screwdriver
- Needle nose pliers
- Hammer
- Long extension or metal rod — for hammering on the pin
- 9mm extension (or other similar-sized extension) that slides over the pin — for installing the retainer clips
- Hydraulic jack
- 2 x 4 scrap piece of wood (optional)
- Penetrating oil
- GM door spring tool OR a vice, zip-ties and a box cutter or sharp blade
- Cardboard or carpet or plywood to protect your windshield
- Safety glasses
- An assistant
Parts Needed:
- New door hinge pins
- New bushings
- New spring (optional)
Be sure to choose the door hinge pins and bushings that match your make, model and year of Chevrolet or GMC truck or SUV. Don’t forget to wear safety glasses — the retainer clips and springs can be difficult to work loose, and they can shoot up when they finally do.
It is also a good idea to protect your windshield with a thick layer of carpeting or plywood. When you’re hammering on the top hinge pin, a swing and a miss can mean a cracked windshield.
Steps to Replace Your Door Hinge Pin, Bushings and Spring
Start by making sure you have enough room to open your truck doors fully, so you have easier access to the hinges. Then, follow these steps:
Remove the door spring, old hinge pins and bushings:
- Remove the retainer clip on the top of the top hinge pin with a screwdriver and pliers. Start to wiggle it loose with the tip of the screwdriver and then grab it and work it loose with the pliers.
- Remove the door spring behind the hinge — between the hinge and the door itself — by locating the end of the spring and inserting the screwdriver between it and the hinge. Pry, using the door as leverage, until the spring pops out.
- Spray penetrating oil on the top and bottom of the pins, at the bushings, to make it easier to hammer the pin out.
- Place your long extension on the top of the pin and carefully hammer down to dislodge the pin, taking care not to hit your windshield or another part of your vehicle.
Now, it’s time to grab your assistant!
- Remove the retainer clip on the bottom of the bottom hinge pin with a screwdriver and pliers. Start to wiggle it loose with the tip of the screwdriver and then grab it and work it loose with the pliers.
- Place your jack to hold up the end of the door to support the weight when the bottom pin comes out. Have your assistant hold the door so that it stays on the jack and doesn’t fall. Pro tip: You can use a 2 x 4 piece of wood to better distribute the door’s weight.
- Spray penetrating oil on the top and bottom of the pin, at the bushings, to make it easier to hammer the pin out.
- Carefully hammer up from the bottom to dislodge the pin, making sure your helper is holding the door firmly on the jack to support the weight. You may need to have your assistant gently wiggle the door if the pin is binding on the hinge. You can also grip the top of the pin with pliers once you start to work it loose and tap on your pliers with the hammer to fully dislodge and remove the pin. Pro tip: You can use a rag to protect the paint on your door by covering the area with it before hammering upward on the pin.
- Use your flathead screwdriver to pry the old bushings out.
Now replace the old hinge pins and bushings and put the door back together:
- Insert the new bushings, taking care to respect the different sizes and where they are located on each hinge. Pro tip: For the top hinge, the larger bushing goes in the bottom part of the hinge while the smaller bushing goes in the top part of the hinge. For the bottom hinge, the larger bushing goes in the top part of the hinge while the smaller bushing goes in the bottom part of the hinge. In both cases, the head of the hinge bolt goes at the larger of the two bushings.
- Gently hammer the four bushings into place. Remember that the bushings go in the vehicle part of the hinge, not the door part.
- With the weight of your door still on the jack, work with your assistant to align the hinges and start to slide the hinge pins into place through the bushings — bottom first, then top. Use a hammer to gently tap at first, then hammer more firmly at the end to fully engage the pins in the new bushings.
- Place your new retainer clips over the bushings and use your small socket or a small hollow piece of tube to hammer the retainer rings in place, ensuring they are fully seated to keep the pins from coming out.
Reinstalling the door spring with or without a GM door spring tool:
- If you have the specific GM door spring tool (spring compressor) for replacing the door springs, follow the instructions included with the tool.ORIf you DON’T have the GM spring tool, you can compress the spring in a vice and use plastic zip-ties to keep it compressed while you install it.Pro tip: Install your three zip-ties loosely before you compress the spring and tighten them once you have the spring in the vice.Carefully hold the spring by the side, not the ends, in case the zip-ties break. Make sure you wear eye protection as you push the compressed spring into place.Carefully cut two of the zip-ties. It can help to close the door slightly as you do this and also rotate the compressed spring to access the second zip-tie. It is difficult to cut the third zip-tie, but it will quickly break on its own as you open and close the door, popping the spring into place.

Repeat these steps for your other doors if those hinges need to be replaced as well. You will notice that your doors no longer sag and are easier to open and close.
If you have any questions, you can always contact our team here at Raybuck. We’re happy to give you additional tips and pointers to assist you in replacing the hinge pins on your older Chevrolet or GMC.
If you need replacement door hinge parts to help with your repair, check out our sister company, Henry’s Automotive Warehouse.
Have you replaced the door hinge pins, bushings and springs on your Chevy or GMC truck? Share any tips with us in the comments below!
Great tutorial.thank you for the time you took to make this.
I had to use my giant zip ties as the smaller ones kept breaking or ripping out the tabs, not not a bad job. I used this tutorial last year and worked great. This time I was in my garage with little room to open the door so more of a challenge. A rewarding finish however.
I am having a problem with a 1998 GMC Sierra repair. From what I have seen, both sets of bushings go on the “body” side of the hinge. Mine don’t. The top pair of bushings go on the body side, but the bottom are installed lower door side hinge. It seems to need different bushings, size wise, from the top. The holes in the lower door side hinge seem smaller. I have mangled two “large” bushings already trying to install them.
Got any thoughts?
having the same issues on my 98
I read your instructions there were simply and perfect for a average Joe like myself , I replaced everything no problem. Thanks
I have watched a ton of videos about the repairing the door hinge, but none of the videos or parts vendors identify the ping that holds the back of the dorman shaft (the shaft the spring) rest on to hold the door open.. My pin that anchors the back of the shaft sheared off and I have to replace it.. but I can’t find the part.. any help would be great..
Hi Dan, can you email us (service@raybuck.com), or post here, a pic of the pin?