
When your lower door skin starts to rust, you want to consider a lower door skin replacement. A full replacement is often required when the rust is too widespread for a smaller patch repair. When replacing rusted or damaged lower door skins, you should know the proper door skin replacement procedures, including how to weld the skin properly and tap it into place. Here’s how to repair and replace your lower door skins and some best practices.
How to Replace a Lower Door Skin: Step-by-Step Process
Replacing a lower door skin is a very similar process across many types of vehicles. Whether you have an SUV, van, heavy-duty truck or sedan, you can follow a few basic steps to ensure you properly replace your vehicle’s lower door skin. While lower door skins will look different depending on the vehicle, they all feature a lip surrounding the perimeter.
Look over this lower door skin replacement overview and the main steps for replacing lower door skins:
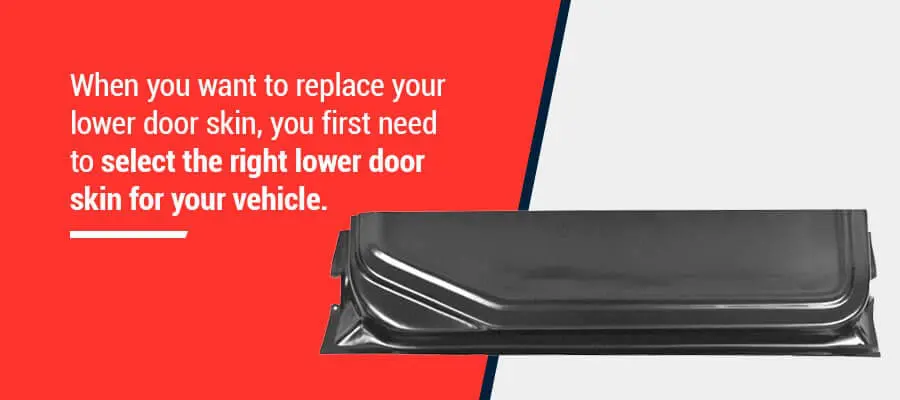
1. Choose the Right Door Skin
When you want to replace your lower door skin, you first need to select the right lower door skin for your vehicle. You can find various lower door skins designed for specific vehicle makes and models, so it’s important to select a door skin that fits your vehicle.
2. Remove the Old Door Skin
Before you can install your new door skin, you need to remove the old door skin. If you’re working on a restoration or a vehicle with a rotted lower door, or one that’s been in an accident, you may need to remove the entire door bottom rather than just the skin. Then you can install a new door bottom before installing the new skin to improve the door’s overall strength.
If just replacing the skin, you can either hold the new skin over the old and trace a cut line across, or you can clamp the new skin over the old and cut through both pieces. Either way will ensure you have an even seam to weld.
3. Tack the New Skin in Place
Once the old skin is cut and removed, test fit the new skin. If it fits, place a few tack welds along the seam that you just cut to hold it in place.
4. Tap Edges
After tack welding the panel in place, the next step is to tap the new door skin’s edges to lock the skin into place. You’ll tap along the lip edges with a door skin hammer to make the lip close onto the frame. Once the lip is closed, your lower door skin will be securely attached to the frame.
Start tapping at the center of the panel and work your way to the sides. Pinch the bottom tight, ensuring it doesn’t interfere with the function of the door. While you tap, you can place a hand anvil or piece of wood on the outside edges so the door doesn’t bend. Slowly tap the lip across the length of the door once and then tap in the other direction to make it even. Don’t tap completely down during your first round to ensure ripples don’t form.
5. Weld the Door Skin Into Place
Once the door skin edges are tapped into place, you can TIG weld across the seam of the new door skin to attach it to the original upper skin. MIG welders will work, but TIG welders are perfect for welding new door skins as they facilitate incredibly precise welding over curves and don’t produce slag or weld beads. As a result, you’ll receive a much cleaner welding job than if you chose another method. You don’t want to apply too much heat to the door skin when welding as it will cause it to warp. Follow a stitch welding pattern across the seam, skipping around 6 inches at a time. Slowly work across the door skin and then start the process over again. Do this until the entire seam is welded.
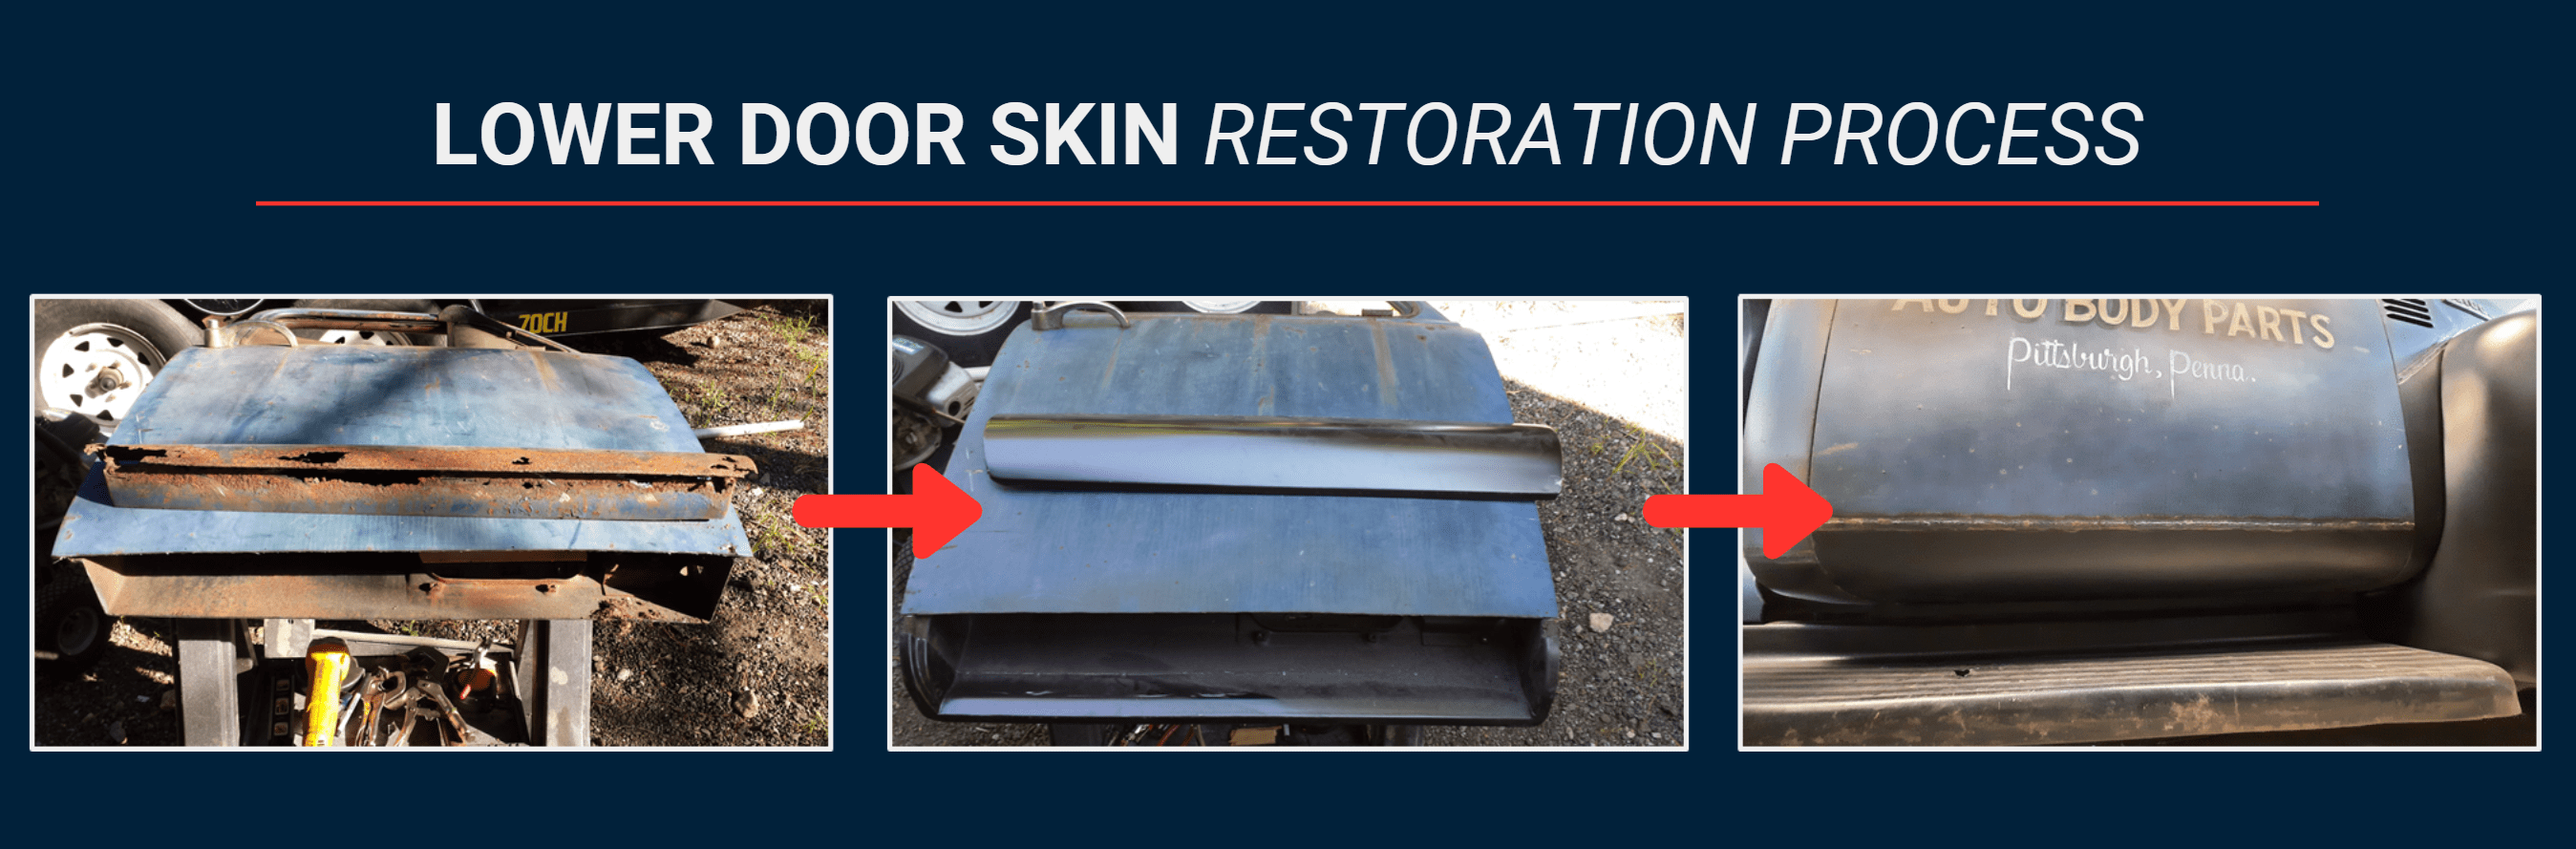
6. Bodywork and Paint
Now that the lower door skin is secured tightly to the door and welded into place, grind down any high spots, clean and do your bodywork. Once done, you’re ready for paint. After you paint the door, your previously rusted or damaged lower door skin should look brand new.
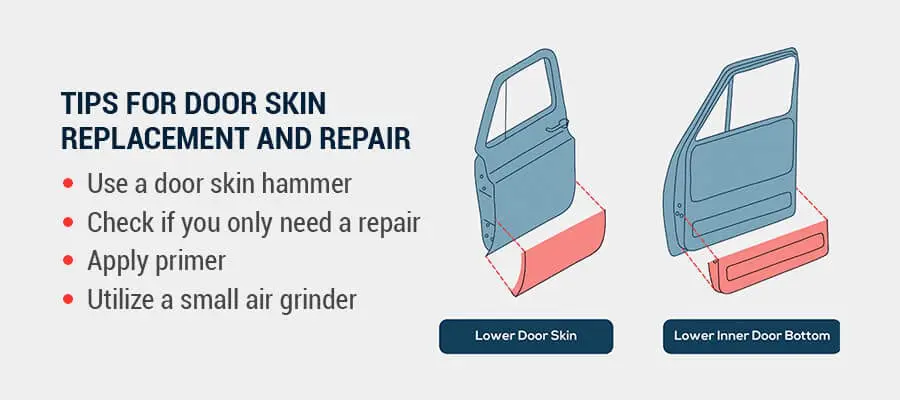
Tips for Door Skin Replacement and Repair
As you work on a door skin repair or replacement job, you might be interested in a few best practices to ensure your vehicle looks its best. Here are some common tips for door skin replacement and repair:
- Use a door skin hammer: Avoid using a standard hammer to tap your lower door skins into place. Instead, use a door skin hammer specifically designed for the task. These hammers’ heads are reduced in size so more energy goes on the flange, and they also feature a customized curvature to make it easier to use in hard-to-reach areas. The hammer’s specialized angle will help you get into the door’s edges as you tap the panel into place.
- Check if you only need a repair: You can sometimes repair your door skin instead of totally replacing it, so you should check if your door skin only needs repairs first. For example, you can sometimes repair rust on a lower door panel rather than having to replace it. Additionally, you can usually repair smaller dents and scratches in the door skin without needing a full replacement. However, if you have extensive rust damage or large dents, you’ll want to replace the door skin instead.
- Apply primer: Before joining the inner door panel and the door skin, coat the inside of both in a self-etching or weld-through primer. By applying primer before installing the new door skin, you can prevent rust.
- Coat with cavity wax: Once the door skin is welded in place and painted, apply a coat of cavity wax to the inside of the door shell. This will help prevent rust from forming in the future.
Get Replacement Door Skins From Raybuck
At Raybuck Auto Body Parts, we can help you outfit your vehicle with a new lower door skin replacement. We carry various replacement door panels, and we have many different lower door skin replacement parts. We’re proud to help our customers keep their door skin replacement costs affordable while also offering high-quality parts.
Browse our selection of interior door skin replacements today. If you have any questions, please free to contact us.


I would like to see a composite material that would replace the entire bottom of a door, inside and out in a single piece. One to be glued in place. My 2002 f150 supercrew is a mess. I replaced a back door when it was only 5 years old. Later I discovered that the weep holes had rubber plugs. Nice job Ford. Cab corners are shot as well along with the inside of the box. Outside is scratch free and the interior looks brand new. 158000 miles.