Auto body repair is easier when the right equipment is ready before the first cut. Whether you are treating surface rust, replacing a rocker panel, or restoring a truck bed, each stage requires specialized tools.
At Raybuck Auto Body Parts, we help enthusiasts find repair panels, fasteners, abrasives, and supplies. Here are the essential tools worth adding to your garage.
Key Takeaways
- Proper safety equipment is essential when cutting, grinding, welding, sanding, or refinishing vehicle panels.
- Inspection tools help reveal hidden corrosion and determine whether metal should be treated, patched, or replaced.
- Angle grinders, drills, and spot-weld cutters make removing damaged sheet metal and factory welds more manageable.
- Panel clamps, body hammers, dollies, and flanging tools help position and shape replacement metal accurately.
- Careful sanding, sealing, priming, and coating protect the completed repair and improve its final appearance.
Did you know? A spot-weld cutter can separate factory-welded panels while limiting damage to the underlying metal.
Why Proper Auto Body Tools Matter
Begin by assessing the damage. Surface rust may require cleaning and refinishing, while perforated metal may need a patch or replacement panel. Suitable tools help preserve solid metal and position new parts.
Review the procedure before starting, then gather every tool and consumable required. Our auto body repair tools and supplies category is a useful starting point.
Essential Tool Checklist

| Category | Key equipment | Common purpose |
| Safety | Glasses, gloves, hearing protection, respirator | Protection during hazardous tasks |
| Inspection | Flashlight, mirror, body pick, borescope | Finding corrosion and weak metal |
| Cutting | Grinder, drill, cutoff wheels, spot-weld cutter | Removing damaged metal |
| Fitting | Hammer and dolly, flanging tool, clamps | Shaping and positioning panels |
| Joining | MIG welder, fasteners, panel adhesive | Securing suitable repair panels |
| Finishing | Abrasives, scuff pads, seam sealer | Preparing and protecting repairs |
1. Personal Protective Equipment
Cutting, grinding, welding, sanding, and refinishing can produce sparks, sharp edges, noise, fumes, and airborne particles. Keep these essentials available:
- Safety glasses or suitable face protection
- A properly rated welding helmet
- Work gloves and welding gloves
- Hearing protection
- Suitable respiratory protection
- Protective clothing and footwear
Follow the instructions supplied with each tool, abrasive, coating, and respirator. Provide adequate ventilation during welding and refinishing. Before creating sparks, check for fuel lines, wiring, glass, upholstery, and flammable materials.
2. Inspection and Measuring Tools
Rust may begin behind a panel before visible damage appears. A flashlight, inspection mirror, body pick, and borescope can reveal corrosion in wheel arches, rocker panels, cab corners, floors, and concealed areas.
Inspect both sides when possible. Identify whether the problem is surface rust, deeper pitting, or complete perforation. Mark the repair area and measure carefully before ordering or cutting metal. Our beginner’s guide to rust repair body panels explains this process further.
3. Cutting and Panel-Removal Tools
An angle grinder with the correct disc is useful for sheet-metal repair. A wire wheel can expose corrosion, a cutoff wheel can remove damaged metal, and a flap disc can clean edges or level welds.
Factory panels are often joined with spot welds. A spot-weld or Rotabroach cutter separates these joints while limiting damage to the underlying metal. Raybuck also recommends metal shears and a flanging tool for jobs such as wheel-arch replacement. Cutter lubricant can extend the life of drill bits and spot-weld cutters.
Browse our drill bits and spot-weld cutters before panel removal.
4. Metal-Shaping and Panel-Fitting Tools
Test-fit replacement metal before attaching it permanently. A body hammer and dolly set helps shape sheet metal and correct irregularities. A flanging tool creates an offset edge for certain overlapping repairs.
Locking pliers, panel clamps, and Cleco fasteners can hold a panel while you check:
- Panel gaps and body lines
- Door operation
- Mounting points
- Welding or fastening access
Trim and reposition the panel until the fit is consistent. Raybuck offers auto body parts and repair panels for numerous makes and repair locations.
5. Welding and Fastening Equipment
A MIG welder is commonly used for welded automotive panels. Thin sheet metal requires proper settings and technique, so practice on scrap steel first. Prepare panel clamps, a clean ground connection, a wire brush, welding gloves, and a suitable helmet.
Staggered weld placement can help manage heat during installation. Follow the panel manufacturer’s directions and any vehicle-specific repair procedure.
Nonstructural applications may use panel adhesive, rivets, screws, clips, or other hardware. Review our truck rust repair panel installation guide and guide to auto body fasteners when planning the joining method.
6. Surface Preparation and Finishing Tools
Use grinding or flap discs carefully to level welds without excessively thinning nearby steel. Sandpaper, sanding blocks, and scuff pads prepare the area for filler, primer, and paint. Wax and grease remover cleans the surface before coating.
Common finishing materials include:
- Body filler and spreaders
- Seam sealer
- Rust converter or inhibitor
- Automotive primer, color, and clear coat
- Undercoating or cavity protection where appropriate
Most Raybuck replacement body panels have an EDP coating. It does not require complete removal before painting. Scuff and clean it before applying primer. Welding and bonding areas require preparation appropriate to the joining method. Consult our EDP coating guide before preparing a coated panel.
Build Your Collection Around Each Project
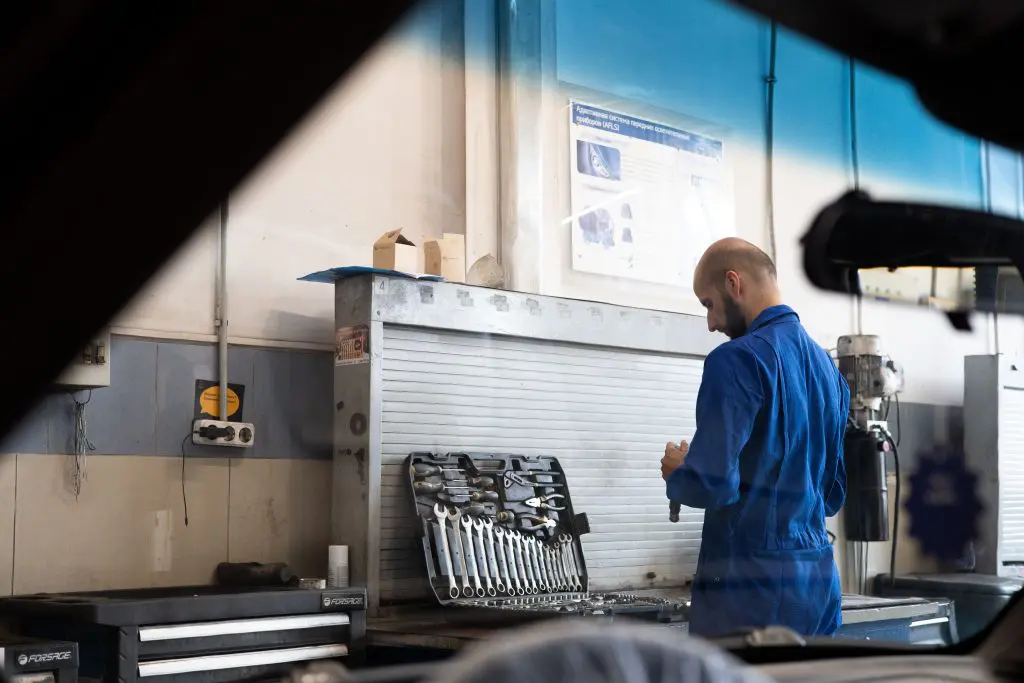
You do not need every specialized tool immediately. Start with safety equipment, inspection tools, an angle grinder, a drill, suitable abrasives, clamps, and hand tools. Add spot-weld cutters, flanging tools, and welding equipment as required.
Budget for consumables such as cutting discs, flap discs, drill bits, sandpaper, welding wire, primer, and seam sealer. Planning for replacements helps keep the repair moving.
Prepare First, Then Repair
Successful body work starts before damaged metal is removed. Inspect the area, choose the correct panel, review the installation method, and organize the safety equipment, tools, fasteners, and finishing products. Careful preparation gives enthusiasts greater control throughout the repair.
Further Reading
- Welding, Cutting, and Brazing Hazards and Solutions: Review OSHA guidance covering fumes, burns, eye injuries, electrical hazards, and protective equipment for welding and cutting work.
- Best Practices for Auto Refinishing: Explore EPA recommendations for ventilation, respiratory protection, surface preparation, spray painting, and safer refinishing practices.
- Welding Fumes and Manganese: Learn more from NIOSH about welding fumes, potential exposure risks, and the importance of controlling airborne contaminants.