
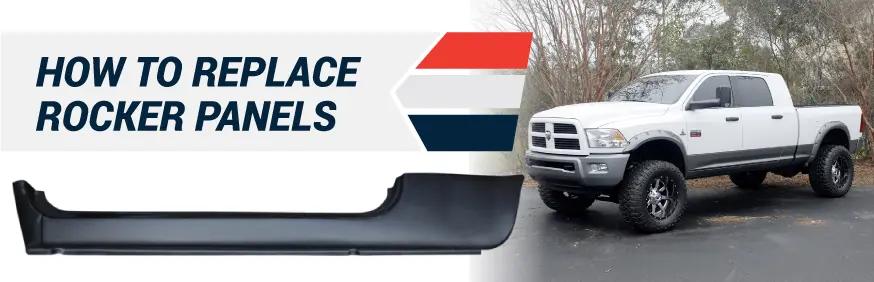
Rocker panels are a key part of your vehicle’s structural integrity. A damaged panel can weaken the cab structure and affect a truck’s stability and safety. You should inspect your rocker panels regularly to make sure they are free from rust and damage and move quickly to make necessary repairs. Learning how to install new rocker panels will extend the life of your truck and keep it on the road. While replacing your rocker panels isn’t the most simple project for a beginner, you can do it if you use the correct replacement rocker panels and the right tools, and have a little patience.
Quick Links:
- When Should You Install New Rocker Panels?
- How to remove and install weld-in rocker panels
- How to install slip-on rocker panels
When Should You Install New Rocker Panels?
If your rocker panels show signs of rust, visible damage or holes, it’s time to get to work. Once rust starts, it doesn’t stop — unless you do something about it.
As with any truck damage or rust, it is best to deal with it as soon as it occurs. That intervention keeps rust from getting a foothold and causing significant damage. It is even more critical for rocker panels because any damage to the panel will let more water and grime in, speeding up corrosion.
Rocker panel damage can occur for different reasons, including paint damage from rocks and gravel, impacts from a collision or parking lot accident, off-road use or general rusting due to daily use. No matter the reason, damage should be repaired.
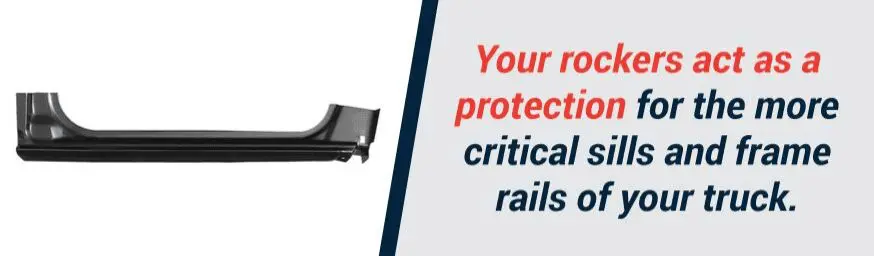
Your rockers act as protection for the more critical sills and frame rails of your truck. Once they have rusted away, your sills are fully exposed to off-road driving, gravel impacts or rusting themselves. Repairing rusty sills is a lot more work than replacing rockers.
Selecting the Right Type of Replacement Rocker Panel
There are two different types of replacement rocker panels: welded and slip-on. The type you choose depends on the state of your existing rocker panels:
If your rockers are significantly damaged from rust or impact and are no longer in their original shape, cutting away the entire panel and replacing them with full rockers may be your best bet. These will require welding, and the removal of your truck door(s) is recommended. Depending on your truck, you may decide to use:
- Welded rocker panels: If your rockers are suffering from general corrosion damage but no other deformation, especially along the top and bottom edges, slip-on rocker panels may be a good choice.
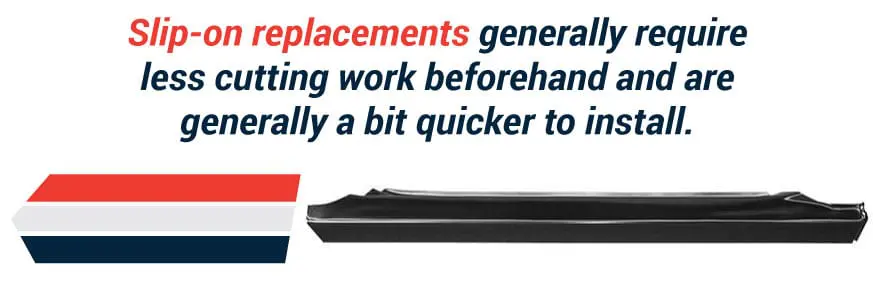
- Slip-on rocker panels: These do not require welding as they can fit over any remaining part of your current rocker and be attached with rivets, panel adhesive, or other fasteners. Slip-on replacements generally require less cutting work beforehand and are typically a bit quicker to install.
Follow the same steps as the professionals and use the same quality materials and tools. A half-hearted repair job won’t last and can start to rust again quickly or require more significant repair later. At Raybuck Auto Body Parts, we carry quality aftermarket rocker panels for a wide range of trucks and SUVs from Ford, Chevy, GMC, Dodge and Jeep. We’ve put together a guide on how to replace rocker panels so you can extend the life of your truck and keep it going on and off-road for years to come.
Right Tools for the Job
Before you start changing your rocker panels, it is important to have the right tools. If you aren’t already equipped, invest in the following basic tools.
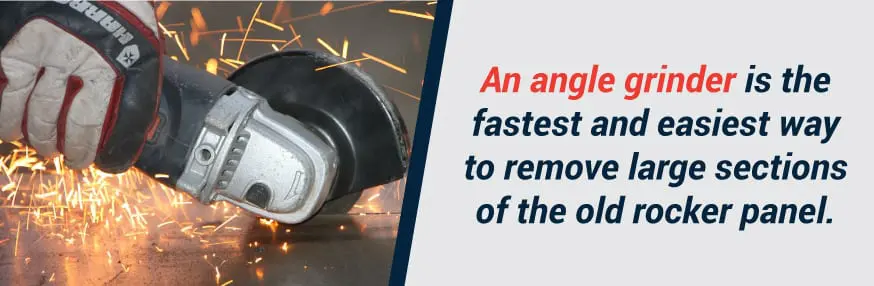
- Angle grinder: An angle grinder is the fastest and easiest way to remove large sections of the old, damaged rocker panel. You can easily change the grinder disc to a different grit or to a cut-off wheel for more precise cuts, but for most jobs, an aggressive 50-grit disc will make short work of the rusty portions. You do not have to worry about getting a smooth edge with your angle grinder, as you will take care of that at a later step.
- Wire brush: You will need a wire brush to remove paint around the edge of your cut-out section so you can ensure you’ve cut away the last of the rust. A stiff wire brush can also be used to remove bits of rust around your work area and expose the bare metal where you will be welding your new panels in place since you cannot weld over painted sections.
- MIG welder: We suggest having a bit of experience with a MIG setup before you start, as a shaky hand or wrong heat and wire settings can make for a lot of grinding and finishing work afterward. You’ll begin with tack welds to hold the panel in place, but the longer finishing welds take some patience.
- Pry bar: This tool will help you remove stubborn pieces of rusted metal.
- Electric or pneumatic drill: You can use a drill to cut through spot welds, making it easier to remove your old rocker panels. For slip-on rocker panels, use a drill and drill bits, or spotweld cutter, to create precise holes for self-tapping screws or rivets.
- Clamps: Hold the new panel securely in place with multiple clamps while you work. Using clamps helps ensure proper alignment and a secure fit.
- Safety gear: A pair of double-palm leather gloves or other sturdy work gloves will help protect your hands. You should also use safety glasses and a dusk mask to guard against metal particles and fumes. Ear protection is highly recommended as well, when you are using an angle grinder, or other loud tools.
- Finishing supplies: Once your new rocker panels are installed, you’ll want them to match your vehicle. If you plan to handle the painting yourself, you’ll need body filler, sandpaper, primer and paint to give your repair a professional look.
- Rust inhibitor spray: This product will help prevent rust from forming on your new rocker panels and keep any rust that has started forming behind your old rocker panels from becoming worse. Zero Rust is our top choice for rust prevention.
Remember that you can cut into the rocker panels without any risk to the structural integrity of your vehicle, but you have to be careful not to cut into the sills or frame.
Before cutting, you should elevate your truck, support it underneath at multiple locations and add a brace in the doorframe to keep it from flexing.
At Raybuck, we carry welded rocker panel replacements for popular trucks such as the Chevy Silverado and GMC Sierra, Ford F-150 and Super Duty series, Dodge Ram 1500-3500 and various Jeep models. We know these workhorses take a beating and will eventually need some repairs.
How to Remove and Install Weld-In Rocker Panels
If you are fixing rocker panels on your pickup truck or SUV with the weld-in type, you’ll need to follow these steps:
1. Remove the Door
For best results when installing full panels, you should always remove the doors before beginning any work. This may be a hassle, but it will be well worth the headache it saves you later on in the process. If you do not remove the doors, you risk the rocker panel not being fitted correctly or damaging your door during the welding process. We also recommend removing the fender as well in most cases.
2. Clear Away the Rust
Remove the rust with an angle grinder. All the metal must be exposed, both on and around the portions that will ultimately be removed. This way, you can tell which parts of the panel are salvageable and which areas you must cut away and replace.
The sanded area should exceed the corroded area by 2–3 inches on all sides. It is worth spending a little extra time at this stage to be sure you have removed all the paint and exposed all rust present because leaving rust behind is an invitation for corrosion to start again quickly.
3. Remove the Old Rocker Panel
Once you have exposed the portion of your rocker to remove, it is relatively easy to do so. If your rocker was originally secured with spot-welds, use a spot-weld bit to cut them out. Use a cut-off wheel on your angle grinder to carefully cut along the seams and remove the remaining rusted or damaged rocker panel.
Anyone who has worked with cut sheet metal before can attest to just how sharp those edges are, so be careful with freshly cut metal and take a few minutes to knock off the sharp edges with your wire wheel or grinder from time to time. Once the panel is free, you can use a pry bar to peel the rocker panel away from the vehicle.
4. Mark Off the Rotted Paneling
With a marker, trace the area of the old panel that needs to be cut out and replaced with the new one. The old portion can serve as a template if it’s relatively intact, but if it has completely rusted away and has been cut away in pieces, you’ll need to approximate the shape to start.
Always cut smaller sections, as it’s easy to cut more but hard to correct if you’ve cut away too much. Take the time to check often, holding the new panel up against your truck to make sure you have trimmed your new rocker to the adequate size.
5. Clean the Surface
With the rotted portion removed, clean the sections underneath to remove any remaining rust or paint. You might need to trim additional portions with the angle grinder or remove the remaining rust with the wire brush. Brush around these parts until all remaining dust and rust particles have been removed from the metal, and then wipe away the surfaces with wax and grease remover on a cloth.
Afterward, go over these spots with rust converter spray to help inhibit the reformation of rust for a long time to come. This step will help make sure your new panels don’t rust prematurely.
6. Fit and Modify the New Panel
Trim the new rocker until it fits the space where you removed the old panel. If you have a seam that was spot-welded, leave an inch or so of overlap with the remaining rocker material. Once again, it’s always better to go slowly and trim bit by bit than cut away too much and find you have a gap. Fit your new rocker up against your truck frequently to ensure you’re approaching the desired shape and size.
7. Tack Weld Your New Panel
Once your panel fits correctly, tack weld it in place. To make sure it is positioned correctly, loosely bolt the door back on to test the fit. Measure the gap between your door and the rocker at multiple locations to be sure.
8. Weld on the New Panel
Here’s where a steady hand with the MIG is important. Body panel sheet metal is relatively thin and can’t take heat like a frame or chassis weld. Previous welding experience is a big help for this part, as you can gauge how fast you can carry your bead and how long you can weld before warping the panels.
9. Weld Cleanup and Prep Paint
Once your new rockers are welded in place, the hard part is over. You still have to grind down your welds, sand them smooth and get them ready to paint, but the critical part of the repair is done. At this point, your truck is almost ready for use again, so don’t rush through the paint prep and painting stages.
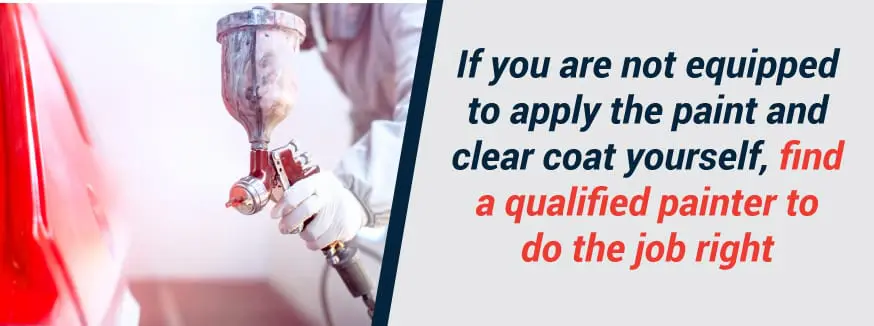
If you are not equipped to apply the paint and clear coat yourself, find a qualified painter to do the job right. If the remaining portions of your rockers and cab corners of your older truck are not looking their best, a coating of rocker gravel guard is an option. It will add even greater corrosion resistance and help to blend the newly painted panel with the existing truck body.
If you are not equipped to apply the paint and clear coat yourself, find a qualified painter to do the job right. If the remaining portions of your rockers and cab corners of your older truck are not looking their best, a coating of rocker gravel guard is an option to add even greater corrosion resistance and can help to blend the newly painted panel with the existing truck body.
Slip-on Rocker Panel Replacement
The steps involved with slip-on replacement rocker panels mimic those of the welded type, but they differ slightly in the prep work and attachment method.
“Slip-on” does not mean you slip the panels on over your rusty, damaged old ones and call it a day. There is still a significant amount of work to do to remove the worst of the rusted sections and then secure the new panels in place, but with slip-ons, you can attach your new panels with fasteners or adhesive rather than welding them. You can also usually avoid removing your truck’s door with this option. One caveat for slip-on rockers, make sure you purchase a quality rocker replacement. If you end up with a thin slip-on rocker, and you have to cut a lot of the existing rocker out, the end product will not be as structurally sound as the original. At Raybuck, we only seel high quality slip-on rockers.
Tools You Need for a Slip-On Rocker Panels
For this type of truck rocker panel replacement, you’ll still need the same basic tools as for the welded panels. You will want to have these tools on hand to help strip away the paint in the affected zone, remove the rusty and damaged portions of the panels and attach the new rocker panels:
- Angle grinder
- Wire brush
- Pry bar and/or hammer
- Electric or pneumatic drill
- Fasteners/rivets/adhesive
- Rust inhibitor
How to Install Slip-on Rocker Panels
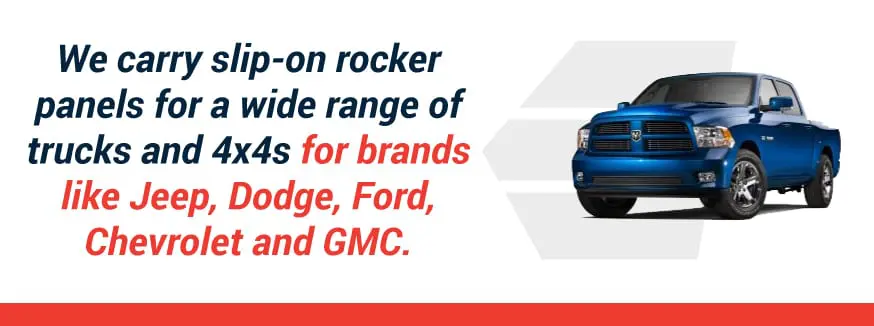
If you’ve chosen to go the slip-on route, Raybuck has your back. We carry slip-on rocker panels for a wide range of trucks and 4x4s for brands like Jeep, Dodge, Ford, Chevrolet and GMC. These are the trucks that get used the hardest and are most likely to suffer damage and rust.
Give your truck a new lease on life and avoid further, more troubling door sill and frame rust by replacing your rockers with slip-on replacements following these steps:
1. Remove the Old Metal
Cut out the rusted metal from your old rocker panels with an angle grinder. It could take several cutoff discs to finish this step.
If you find that the door and rocker panel on your truck bows out, as many do, you will need to cut a majority of the panel away so that the new slip-on panel fits into place. You will want to make sure you leave enough to attach the new panel, so cutting no more than half the seam should give you enough room while also making sure the new panel can fit the natural bow of the truck’s side.
2. Clear Away Lingering Flakes and Rust
Use a pry bar and hammer to remove any remaining rusty metal from the area under the doorways to the cab. Remaining rust is a prime location for rust to start anew once you’ve finished the job. You also won’t be able to weld properly to rusted metal and get the clean, strong weld you want between the existing panel and the replacement.
3. Grind or Sand Away the Remaining Rust
With the majority of the damage and rust cut away, clean off any remaining rust and paint with 50-grit discs on the grinder. Try positioning your new slip-on panels frequently to ensure they fit and there are no burrs or warped edges that keep the panel from sitting flush against what remains of the new panel.
4. Coat With a Rust Inhibitor
With the edges now ground and clean, spray these areas with a rust inhibitor or coat with a rust-inhibiting paint to help prevent the bare metal from rusting in the near future. It is also a good idea to coat the reverse side of the new panel with a rust inhibitor if the manufacturer does not.
5. Mark and Drill Holes
If riveting, mark out evenly spaced holes for the rivets. In general, every 2 inches is sufficient, though you can vary this depending on the shape and complexity of your rocker. If you want to weld the slip-on panels, keep your rivets about an inch away from where you will be laying your weld bead to attach the slip-on panel to your existing rocker. Drill 1/8-inch holes on your marks using your hand-held drill.
Make sure your rocker panel is exactly where you want it before you begin drilling, or the new panel will not fit correctly. It may help to use clamps during this part of the process or have someone else hold it in place while you drill.
6. Smooth out the Drill Hole Edges
With a flat disc attached to the grinder, smooth off the drill spurs on the reverse side of the slip-on panel and on the truck’s edge. This prevents metal from protruding along the edges of the holes and makes the panel more difficult to fit into place. Apply etching primer to the bare spots on the panel.
7. Attach the Rocker Panel to the Truck
Attach the slip-on panel to the truck using your choice of fasteners and/or adhesive. It is recommended you start in the middle and work your way out to the edges. Doing every third or fourth hole and then filling in the holes in between will also help keep the panel from shifting.
8. Make Adjustments and Finishing Touches
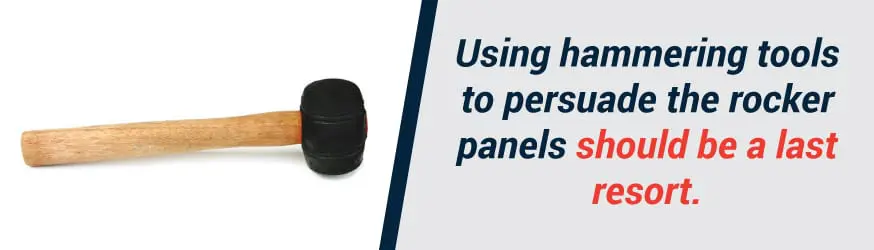
If the panel does not line up at any point along the length of the rocker, you may be able to use hammering tools to persuade it to fit in those areas, but this should be a last resort. Apply any filler as needed, sand and prime. Apply undercoating to the bottom of the panel. Paint the rocker panels to match the color of the truck. You can have the paint and clear coat applied professionally if desired. Your choice will depend on the desired quality of the finish.
Expert Tips for Rocker Panel Replacement
We’re never against finding an easier way to get the job done! No matter which style of rocker panel you choose, these tips can help you save time and headaches when you attack a truck rocker panel replacement:
-
- Ordering the right part: First and foremost, make sure when you are ordering your new rocker panels that you are getting them for the right year, make, model and cab type. Also verify that you are ordering panels for the side of the vehicle that you’re working on, and not the opposite side. Left is for the driver’s side, and right is for the passenger’s side.
- Working on the level: Anyone who has ever tried to replace rocker panels with the vehicle on the ground will tell you that you save precious time and energy elevating it. If possible, lift it on a hoist or place it on jack stands for easier access. Ideally, you’ll work slightly above waist height. Attempting to replace rocker panels on your knees is an extremely tiring and inefficient way to work and will push you to take shortcuts. Do yourself a favor and find the space and equipment to elevate your truck.
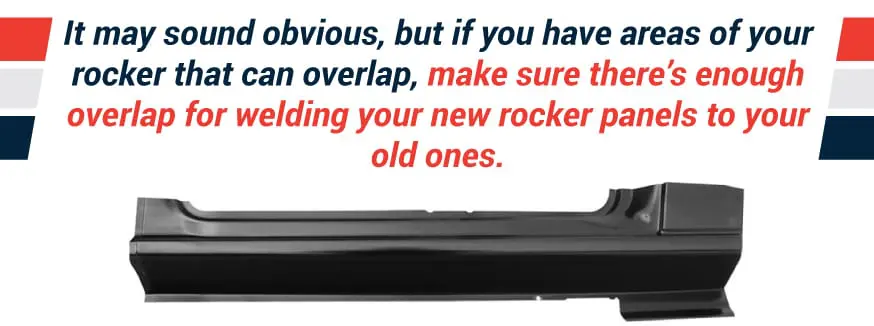
- Full rockers — maximize the welding surface: It may sound obvious, but if you have areas of your rocker that can overlap, make sure there’s enough overlap for welding your new rocker panels to your old ones. Overlapping into the bare rocker metal will ensure you have removed all the rust and have solid metal to work with. Where the panels join, you may have a bulge after welding, but you can remove the excess with a grinder. If you’re only replacing a section of the rocker, use a cut-off wheel to minimize the gap between the original panel and the replacement panel, butt them together, and then weld them.
- Take your time: We’re all eager to complete an automotive repair and get back on the road. Take the time to do it right the first time, and you’ll be less likely to be working on the same repair project in the near future. The best way to make sure your rocker panel replacement is successful is to take the time to fit the new panel correctly.
Buy New Rocker Panels from Raybuck Auto Body Parts
When your truck, Jeep or SUV is suffering from damaged or rusted rocker panels, replacing them yourself can be a great way to restore it while also saving yourself some money. If you’re handy with an angle grinder and a MIG welder and understand the importance of removing all traces of rust, you have the skills to replace your rocker panels. We carry welded and slip-on replacement rocker panels for a wide range of trucks, like Chevrolet, GMC, Dodge, Ford and Jeep.
Questions about rocker panel replacement or finding the right part? Give us a call. We can help you choose the right panels — and give you even more tips for getting the job done quickly and efficiently. We’re always happy to talk about truck repairs because that’s what we’re passionate about here at Raybuck. Order online today with a quick and easy order process, and get started on restoring your truck today!


Has anyone made stainless steel rocker panel replacements
I need the supports that go from the rocker panels to the frame
We have not seen stainless steel rocker panels yet.
2009 Dodge Caliber 4 door, are the RRP-3863 And RRP-3864 Slip on rocker cover or weld-on?
How difficult are slip-on covers to install?
That’s an LKQ number that we do not carry. From what I can tell, it looks like a slip on rocker, though. Slip-ons are literally meant to go over top of the existing, and you can either weld, rivet, screw or epoxy/silaprene them on.
I took my f150 to an autobody shop who said the internal structure of the rocker panels are gone as well. Do the full rockers you sell address all the structural components need to replace the rocker panels and keep the truck safe to drive?
Thx.
Most pickups will have an external rocker section and an internal rocker section. Depending on the vehicle, we normally sell both panels. If the shop is saying that the outside and inside rocker area is gone, then I would suggest replacing both. Our panels will completely replace the original areas, and, if installed properly, will make the truck structurally safe again.
I have a 2006 GMC Sierra extended cab and I am having a hard time getting the slip over covers to fit on both top and bottom. If I press them in place on top they are still off about 1/2″ underneath. Is this what normally occurs when the old rockers are bowing out? I have cut quite a bit of the rockers out but not completely. How can I tell if the old rockers are bowing out and should I go ahead and cut them out completely to get a better fit?
Hi Joe. Please send us some pics of your existing rockers to [email protected]. The slip-on rockers should simply slip over top of the existing without issue.
I just replaced a full rocker panel on my 1993 GMC single cab truck. It turned out very well, except now it’s harder closing the door. I have to slam it shut. Any ideas on what to do?
It sounds like either the new rocker was installed a bit higher than the original, or the cab tweaked during installation. Check the gaps around your door and see if you can adjust the door hinges accordingly.
I have a 1979 jeep cherokee chief 2 door. Do you have the slip on rocker panels for my vehicle? Your sight just shows 4 door panels. Thanks
Hi Matt, we only have rockers for the 4 door model (https://raybuck.com/?s=1979+jeep+rocker). You may be able to cut these down and make them work.
2004 Silverado 2 door. Which slip on should I purchase.. Seems I can only find extended cabs.
Hi Robert, you can use the https://raybuck.com/product/1999-06-silveradosierra-rocker-bottom-slip-on-for-2-door-or-extended-cab-driver-side/ as it is meant for the regular cab and extended cab. You’ll just need to trim it down to fit the regular cab. Thanks
I have a Pontiac Pursuit 2006 and have the rocker panels ready to pick up to take to my mechanic; he is going to weld them on for me. Can I just take it home and apply a couple of cans of primer (which is the same colour as the car) and not bother paiinting it; I am getting it undercoated the end of the month. I have the tape and sandpaper if needed. The guy next door might give me a hand; he runs a carpentry business. I am a senior with fixed income so am trying to save money whenever I can and my husband is in the hospital with a gractured pelvis so he is out of commission’ I would appreciate your advice. Thank you very much.
P.S. The car runs great and I don’t drive it very much – try to ‘bundle ‘ trips to save gas and money (knock wood)
Hi Nancy, I would definitely paint the rockers. Primer will help prep the surface for paint, but it is not meant to be a topcoat. The elements, and UV light, will eventually break it down and rust will form again. You can use an inexpensive automotive spray paint over top of the primer. It will be worth the extra few dollars and time.
I have a Dodge Ram 1500 standard cab 2005, when the rocker panels arrived they stretched from the cab corner to the hinges for the door. Most of my rocker panels are solid except for about 12” from the door latch area. Can I just cut out the rust and then use panel adhesive on the rest of the panel with pop rivets? Will sliding them over the existing rocker cause problems with my door alignment?
Hi Kelly. There are weld-on rockers and slip-on rockers. Weld-on rockers are meant to replace what’s there, so they’re really not intended to go over the existing metal. Trying to install them over top of the existing metal may cause alignment and fitment issues. Slip-on rockers are made to go over top of the existing metal and will not cause any fitment problems. Hope this helps.
after putting on slip on rockers panels on my chevy truck can i put bushwacker over the slip ons
Hi Betty. You may have to trim the slip-on rockers, or the edge of the bushwackers, to get things to align properly.
Are the slipons metal so u can weld them in if possible
Yes, all of the body panels that we sell are made of steel.
can I just use an adhesive to attach my slip ons if so which one should I use?
Hi Michael, yes, you can use an adhesive to attach slip-on rocker panels. We sell a one part adhesive called Silaprene. It comes in a standard caulking tube that you can put in a standard caulking gun. Thanks, Steve
Silly question: is it necessary to remove the black paint / coating from the replacement rocker panel before welding, or is it weldable?
And does that black coating act as an effective primer that can be painted over, or is it preferable to remove it entirely?
Hi Adam. The black EDP coating is not a weld-through primer. We highly recommend removing any paint/primer/rust from any area that will be welded to ensure the strongest bond possible. The black EDP coating can act as a primer, but we recommend scuffing and priming over it once the panels are welded in place, and then top coating with an automotive grade paint. Thanks, Steve
hi i need both sides of full rocker panels for my 2007 ford sport trax i will need weld in rockers because rust is thru at top where step is and both sides of rear dog leg panels also could you give me your part numbers and prices for these , hard time finding them on your web your thanks
Hi Gerald. It’s hard to find these rockers because we don’t carry them. We have access to brake-made rockers, but we didn’t like the quality, so we didn’t put them on the site. I don’t know of anyone making stamped aftermarket rockers for the Sport Trac yet.
I have slideing doors on each sides will this matter for slip on panels
As long as you buy the correct slip-on rockers you will be fine.