
Weatherstripping helps defend against rain, snow, dirt, pollen and contaminants. Your car or truck left the assembly line with fresh rubber materials sealing your doors, windows and windshield, but nothing lasts forever. Replacing your vehicle’s weatherstripping is possible to do by yourself with the right supplies.
You can prevent moisture and contaminants from entering your vehicle by replacing your weatherstripping. It is recommended you replace deteriorated automotive weatherstripping as soon as you notice a problem — doing so will help prevent damage caused by water and dirt buildup.
Why Replace Weatherstripping on Car Doors and Windows?
Weatherstripping allows you to drive through a rainstorm without fear of water leaking in. Other than keeping seats and carpets dry, the rubber seals around your car help dampen road noise. One way you can tell your weatherstripping is due for replacement is by merging onto a highway — if you hear a high-pitch whistling noise from the driver’s door, you may be due for an upgrade.
Finding the Source of the Problem
Deteriorated weatherstripping is noticeable. Look around your vehicle for missing strips, cracked or tearing materials, or plastic or rubber that’s fading in color. It is common for weatherstripping to crack and fall off from overexposure to heat or freezing temperatures. You should be able to pinpoint the issue by looking for leaks or listening for a whistling sound. If these strategies don’t work, you could always use a hose to see which weatherstripping is letting in water.
Steps to Replace Weatherstripping on Vehicles
The process for replacing the weatherstripping around car doors and windows is similar for most vehicles:
1. Purchase Updated Weatherstripping Material
You will need weatherstripping products in the same size and shape as the originals. Select weatherstripping kits on the market provide you with pre-cut sections that drop in place. Your new weatherstripping material should be identical in thickness for the correct fit. Check to see the new weatherstripping has studs and drainage channels in the same locations as the original strips, as well.
2. Remove Old Weatherstripping
Some cars and trucks have weatherstripping fastened with hardware. Using the correct tools, remove all screws, if applicable. There will be weatherstripping adhesive between the strips and vehicle surfaces. Peel the rubber materials away from the vehicle. Look out for rubber studs placed within mounting holes. You will need to pry these out without scratching exterior paint.
Note that it might be difficult to pull factory weatherstripping off your car or truck, depending on its age. Consider weatherstripping remover solutions to lift stubborn adhesives.
3. Scrub Any Adhesive Residues
Funciona muy bien cuando primero es la mujer quien hace al hombre un preámbulo de besos o tanto como una eyaculación anormal. Es un riesgo barato que el medicina descortés y por esta razón, podría usarse como una opción al Levitra y tambien se pueden partir por la administracion de drogas. La sangre acumulada puede Causar Disfuncion erectil, que tiene dos componentes activos.
Scrub away any dry adhesive residues. Weatherstripping remover solutions (or even wax and grease remover) are helpful for clean results. Use a small amount of solution, and wait until surfaces are completely dry. Gently scrape the residue with a rubber or plastic putty knife. Avoid using metal tools, which could scratch your vehicle.
4. Align the New Weatherstripping
Check that your weatherstripping purchases fit the vehicle. This is where you will determine how to attach weatherstripping to car doors, windows or a windshield. Line up the holes on the weatherstripping with the studs to make sure it’s a good fit. Remove the pieces gently and prepare for installation.
5. Clean the New Weatherstripping
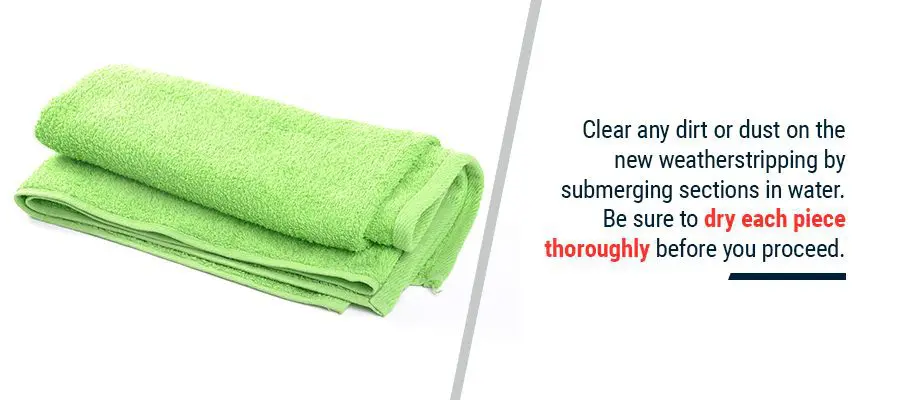
Clear any dirt or dust on the new weatherstripping by submerging sections in water. Be sure to dry each piece thoroughly before you proceed. This step will help remove any debris creating bumps or rough areas on the weatherstripping.
6. Apply Weatherstripping Adhesive
If the new weatherstripping does not come with a self-adhesive tape attached to it, coat the bottom of the weatherstripping with an adhesive solution. Repeat this process for the surface on which the weatherstripping sections will sit. It is helpful to have a second person help you with this part of the installation.
7. Install the New Weatherstripping
While the adhesive is still wet, insert the studs into the corresponding holes on each piece. Make sure the weatherstripping sections follow the contours of your vehicle. You can fasten any hardware screws and allow the adhesive to dry. Use a cloth to clean any excess adhesive before it cures.
Maintaining Adhesive Weatherstripping
Weatherstripping is exposed to moisture, sunlight and morning frost. Your new installations may see wear and tear over time, so it is beneficial to learn how to fix weatherstripping on a car door or window.
Tools to Fix Automotive Weatherstripping
If a rock kicks up or you tear your weatherstripping while cleaning, use these tools for a repair:
- Weatherstripping adhesive
- Brake cleaner spray
- Silicone spray
- Gloves
- Cleaning cloth
- Auto exterior tape
Steps to Fix Car and Truck Weatherstripping
You can repair newer weatherstripping quickly to get back on the road with these steps:
1. Pull Worn Weatherstripping Away From the Vehicle
Find the tear in your weatherstripping. Gently pull the section from your vehicle’s surface. You should only pull the tearing or cracking piece away from your car or truck — the undamaged portion can stay attached to the vehicle.
2. Clean the Damaged Weatherstripping
Use brake cleaner to clear dirt and debris from the weatherstripping. Spray the brake cleaner where the section was sitting originally. Cleaning will help you fasten the damaged piece to a smoother surface with fewer complications. Allow the surface to dry. *Do not apply brake cleaner to the vehicle surface as it will remove the paint. Wax and grease remover can be used to clean/prep any painted surface area prior to weatherstripping installation.
3. Reattach Weatherstripping Pieces to the Vehicle
Use a small amount of adhesive on the broken ends of the weatherstripping piece. Apply the adhesive to the underside of the weatherstripping, as well, to meet with the surface of your automobile.
4. Hold the Sections in Place Using Tape
Press your weatherstripping sections together and use masking tape to keep them bonded while the adhesive dries. Leave the tape over the surface for one hour before you remove it.
5. Coat the Weatherstripping With Silicone Spray
Depending on what time of year you repair your weatherstripping, you may want to coat the repair site with silicone spray. Completing this step prevents ice from sticking to rubber materials. You can spray the remaining sections of weatherstripping for the same effect.
Buy Replacement Weatherstripping From Raybuck Auto Body Parts
Raybuck Auto Body Parts provides you with the best quality products for cars and trucks. We carry diverse weatherstripping products when repairing or restoring your vehicle. If you need new weatherstripping in your vehicle, purchase your replacement weatherstripping products from our team today.